Creating Rotoscoping Animation with Photoshop
It was invented by the great animator Max Fleischer (of Betty Boop, Popeye and Superman fame) in 1917. Those of us who were born in the 80's probably got our first glimpse at this technique either by A Ha's music video of "Take on Me" or by the bizarre Ralph Bakshi's animated version of Lord of The Rings, while later generations' baptism was Richard Linklater's movie "Waking Life", which uses rotoscoping in new and exciting ways.
Thanks to the advent of cheaper graphics pen tablets and the animation features present in the latest Photoshop versions, using this technique is easier than it ever was. In this tutorial we'll see how to use Photoshop to create a simple rotoscoping animation.
According to Wikipedia:
"Rotoscoping is an animation technique in which animators trace over footage, frame by frame, for use in live-action and animated films."
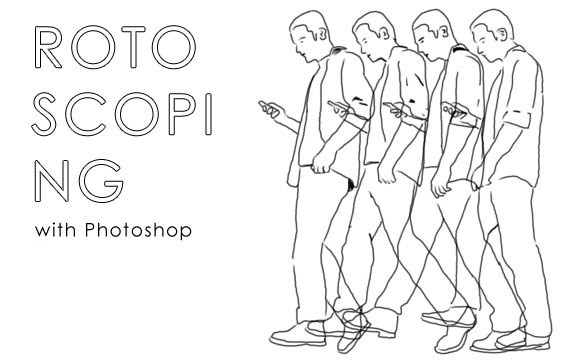
Rotoscoping with Photoshop
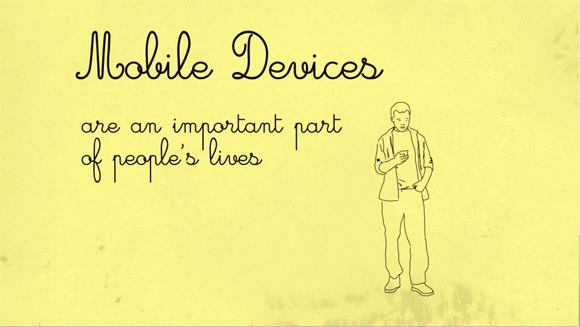
I will be using as an example a video I made for The Delivery App.
Importing Footage
If you open Photoshop - you'll need the EXTENDED version - and go to File-Import you'll see that there's an option called VIDEO FRAMES TO LAYERS. Click on it, select your video file and a pop-up window will appear, with several options.
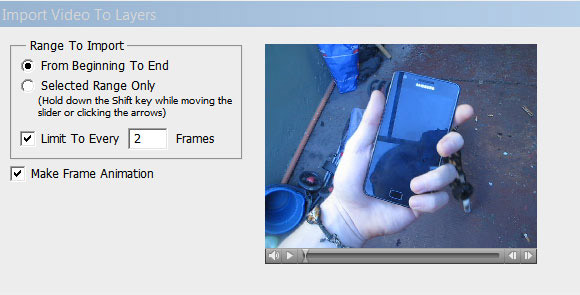
If you already cropped the section of the video you will use you can import the whole video, otherwise you can just import a selected range.
You should also click on the "Make Frame Animation" box since that is what we will create.
The "Limit to every X frames" option is a very important one. The value that you choose here depends on some considerations, both aestethic and time related. For example, suppose that your video is at 24 fps. If you don't limit the frames to be imported, you will have to draw 24 frames for each second of animation. For 30 seconds of animation, you will have to draw 720 frames. The result will be a smooth and fluid animation but it will also be a very time-consuming experience.
Depending on your drawing speed and the complexity of each frame, it could take several hours to rotoscope just a second of video. If you import every 2 frames, you will have to draw half the number of frames (12 fps) but your final animation will be less fluid. That's not a problem in itself, since sometimes it can emphasize the hand-drawn aestethic. The exact number of frames to limit is up to your own experimentation. I usually test different values and see the imported video until I get the value that's the best compromise between the aesthetic I'm looking for and the time available for the job.
The Animation Panel

Once you've imported the video you'll see all the video frames in the Animation Panel, at the bottom of the screen - if you don't see it, go to Window>Animation. You will see that each one has a value in seconds, which shows how many seconds each frame's length will be in the animation. If you change that value for all frames - by shift-clicking the first and last frames - to a higher value, the animation will play slower.
At this point, you should change the canvas size if the final video resolution needed is different than the one you're using for rotoscoping. Also, you should place all video layers in a layer group for better handling. To do this, go the Animation Panel options - that you can find by clicking the tiny icon at the top-right corner of the Animation Panel- and make sure that the option 'New Layers Visible in All Frames' is selected.
Then, create a Layer Group in the Layers Panel, call it "VIDEO" - or something more interesting if you are inspired - and then drag all layers inside it. You can resize the original video frames by selecting the whole group.
Now create another Layer Group and call it ROTOSCOPING. Inside, we will create a new layer for each frame of video.
Next, create another group - between VIDEO and ROTOSCOPING- and call it e.g. "COLOR".
Finally, create a new layer outside the ROTOSCOPING and VIDEO groups with the solid color or texture that you will be using as a background - you can later hide it on export if you want to export a video with an alpha channel.

Drawing Frames
Before starting the process of drawing each frame, go again into the Animation Panel options and Deselect 'New Layers Visible in All Frames'. That way, each new layer that we create for rotoscoping will only be visible in the selected frame in the Animation Panel.
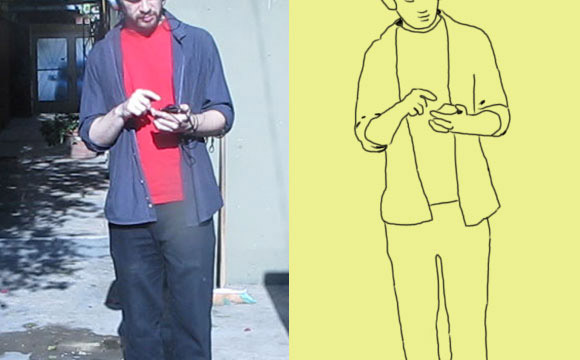
To start rotoscoping the first frame, just click on it on the Animation Panel, click the ROTOSCOPING group in the Layers Panel and create a new layer. Then select a brush that suits your taste and start drawing over the video. Once you've finished the first frame, click on the second one and repeat the process. You can hide the VIDEO group and play the video to see your finished frames in motion anytime.
Be aware that if you draw many details when rotoscoping, you'll have to draw them again in each frame, so now it's time to choose which ones you will draw and which ones you won't. You can always go back and erase details that you find are not needed, but it's better to decide this from the start.
When you have finished drawing all your frames you can start coloring them, by repeating the same procedure, but this time inside the COLOR group. You could also color each frame inside the ROTOSCOPING group, but I find it much more practical to have line drawings and color separated in different groups.
Exporting Video
Once you've finish rotoscoping and painting all your frames, hide the VIDEO group - and the background layer if you need an alpha channel video - and go to File>Export>Render Video, choose your Render Options and Format, click Render and Voila! You can then import the final scene into After Effects for compositing and editing.
Graphics Tablets
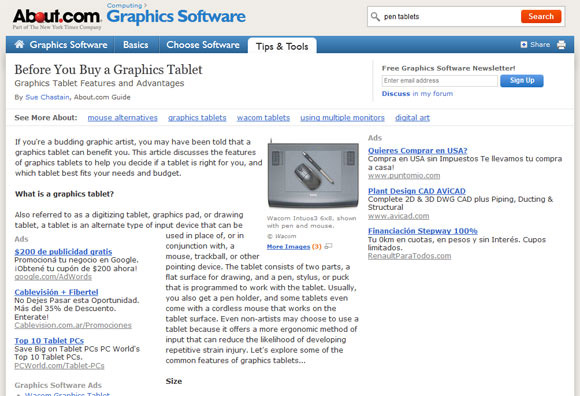
There are a lot of Graphics Tablet models and options. If you are lucky enough to know someone from whom you can borrow one, that's ideal to take a drive test on the whole thing in order to check if it's something you can get good results with.
If you are determined to buy one, here's a good article to use as a starter guide:
Conclusion
Rotoscoping live footage is a very good option when you need a professional looking video that involves live action. Besides the aesthetic flair that this technique provides, you don't have to invest in locations or lightning. Also, it's full of possibilities: you could also leave some parts of the original video visible, or create different backgrounds for each scene, etc.
About the author
Copyright © . All Rights Reserved
