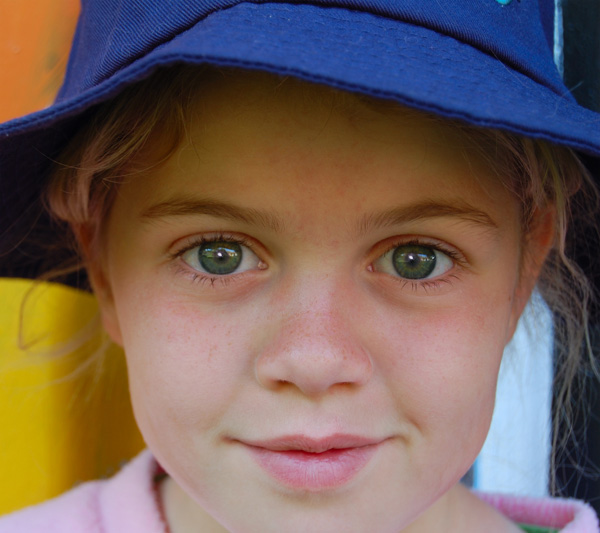
 With the
image open, drag the Background layer over the New Layer icon to duplicate it.
With the
image open, drag the Background layer over the New Layer icon to duplicate it.
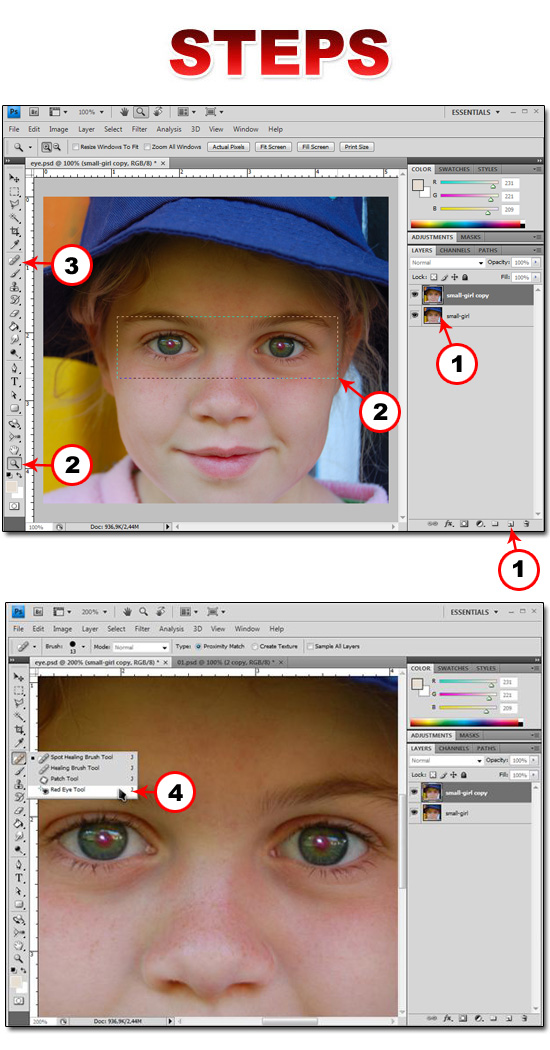
 Click
the Zoom tool and zoom in to enlarge the red eyes.
Click
the Zoom tool and zoom in to enlarge the red eyes.
 Click
and hold the Spot Healing Brush tool to reveal its
other tool options.
Click
and hold the Spot Healing Brush tool to reveal its
other tool options.
 Click
the Red Eye tool. The Options bar changes to show the
options for the Red Eye tool.
Click
the Red Eye tool. The Options bar changes to show the
options for the Red Eye tool.
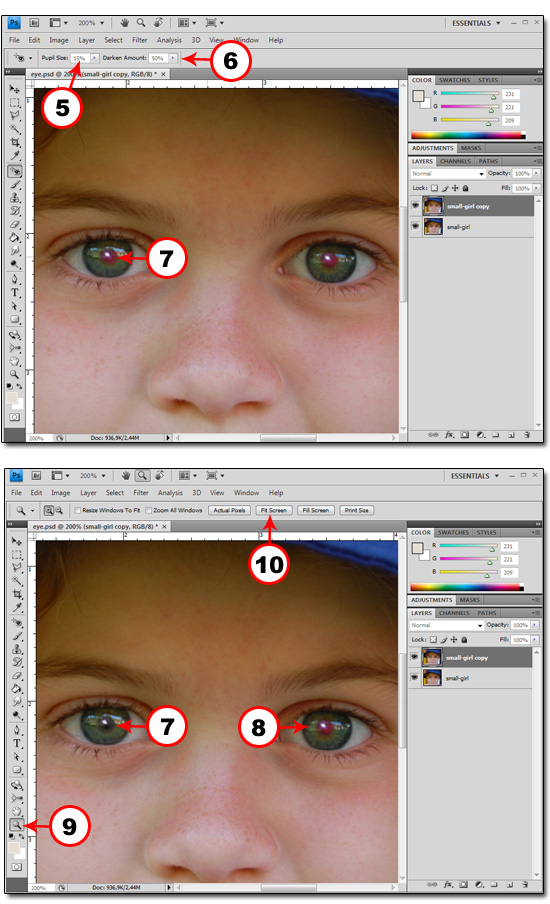
 Double-click
here and type 15.
Double-click
here and type 15.
 Make
sure that the Darken Amount data field is set to 50.
Make
sure that the Darken Amount data field is set to 50.
 Click in
the red area of one eye. Photoshop replaces the red with a neutral
gray.
Click in
the red area of one eye. Photoshop replaces the red with a neutral
gray.
 Click in
the red area of the other eye. Photoshop again replaces the red with a
neutral gray.
Click in
the red area of the other eye. Photoshop again replaces the red with a
neutral gray.
 Click
the Zoom tool. The Options bar changes.
Click
the Zoom tool. The Options bar changes.
 Click
Fit Screen. Photoshop zooms out, so you can see the entire image and the
more natural-looking eye color.
Click
Fit Screen. Photoshop zooms out, so you can see the entire image and the
more natural-looking eye color.