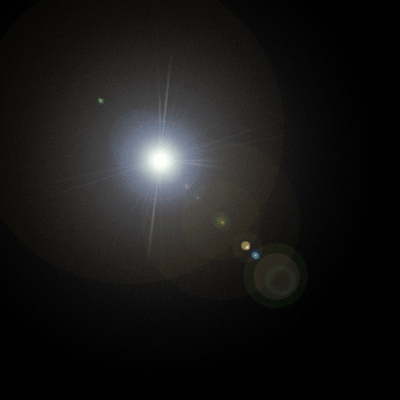
Lens Flare on Transparent Background
Step 1 Start with a layer filled with black.

Step 2 Go to filter>render>lens flare and pick whichever flare you want. I went with 105mm Prime at 100%.

Step 3 Click on the channels palette. Now hold down Ctrl and Shift keys. With the keys held down, click on the red channel, then the green channel, then the blue channel. Now you can let go of the Ctrl and Shift keys. This makes a selection out of the channels.

Step 4 Your selection should look something like this:

Step 5 Click back on the layers palette and click on the lens flare layer. Now press ctrl-c to copy.

Step 6 Now just open whatever image you want the lens flare on, and press ctrl-v to paste.

Step 7 Set the blending mode to screen or linear dodge on the new layer created, and you should have a nice lens flare on a transparent background.

Step 8 You can move it around and see what looks best, as well as play with hue/saturation and blending options. You can come up with some pretty nice effects this way. I used blending mode linear light and ctrl-u to colorize to get the following effect:

Make it fast and easy with this free sun splash Photoshop overlay . Just download the overlay you like, adjust its size and opacity.

Copyright © . All Rights Reserved