Learn How to Make Game Pad Icon in Photoshop
We will firstly create the black background, then we will work on the many layers, text layers and other useful techniques related this tutorial. This tutorial is very simple to follow, so I suggest to everyone to give a try.
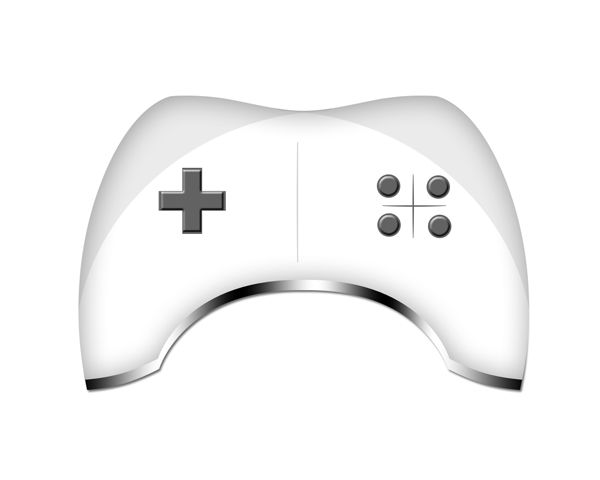
Final Result!
1. Create a new project with a resolution of 1280 x 1024 pixels
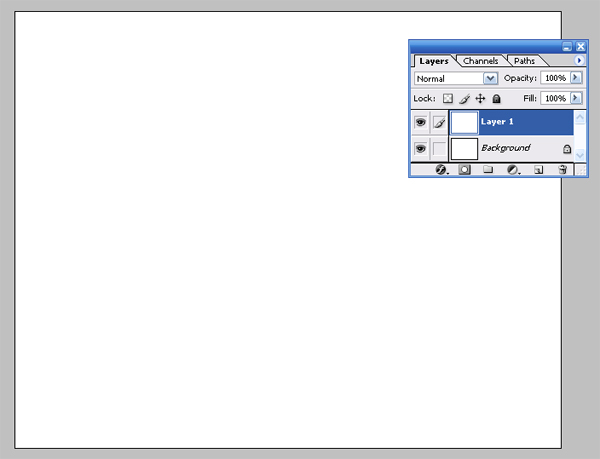
2. Now select the Pen Tool (P) and make shapes like as below
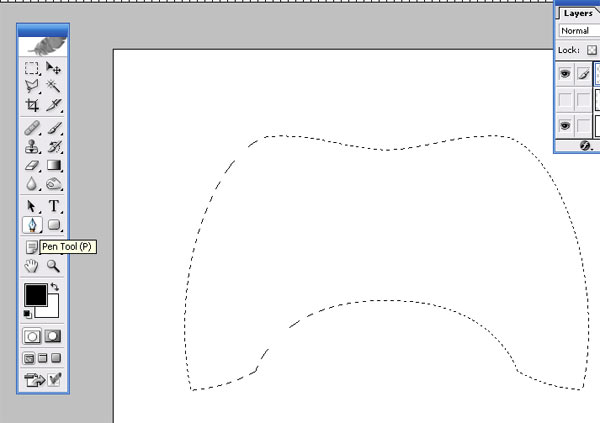
3. Open layer style and select Inner shadow and set the shadow like as below
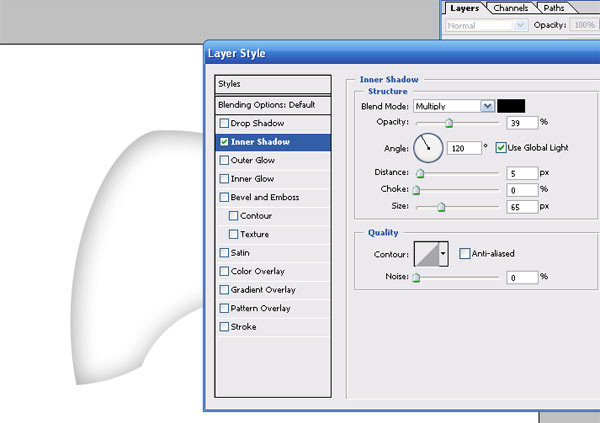
4. Now select the Pen Tool (P) and make shapes like as below

5. Open layer style and select Gradient Overlay and set the Gradient Overlay like as below

6. Now Select Text Tool (T) and type Text Like as below

7. Open layer style and select Bevel and Emboss and set the Bevel like as below
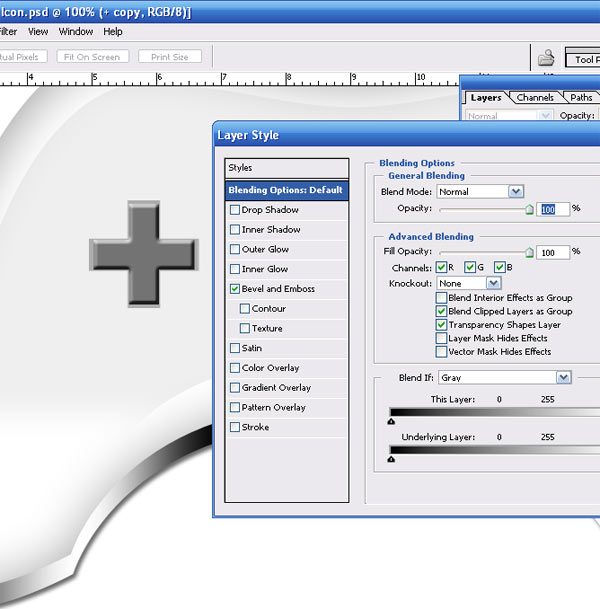
8. Now select the Rectangular Marquee tool (M) and round shape like as below

9. Now Select layer and copy it for past (Ctrl+V) like as below
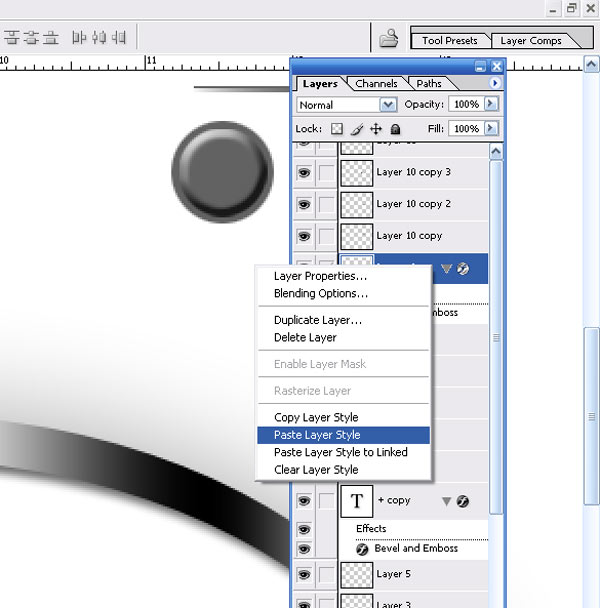
10. Now Select layer Style and past it on Button shape like as below

I hope you've enjoyed this tutorial and I hope these techniques have inspired some new thoughts and ideas for your next design.
About the author
Copyright © . All Rights Reserved
