How to make Gray I pod in Photoshop

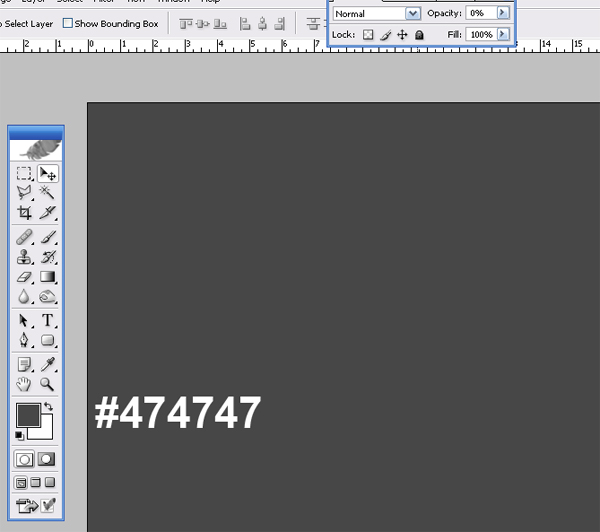
Learn How To Create Gray I pod In Photoshop! Today we will learn how to Create Gray I pod Vector in Photoshop. We will firstly create the background , then we will work on the many layers, layer masks and other useful techniques related this tutorial.
1. Create a new project with a resolution of 1280 x 1024 pixels
2. Now Select Bursh (B) and apply like as below

3. Now Select the Rounded Rectangle Tool (U) and make shape with radius to 20 pixels like as Below
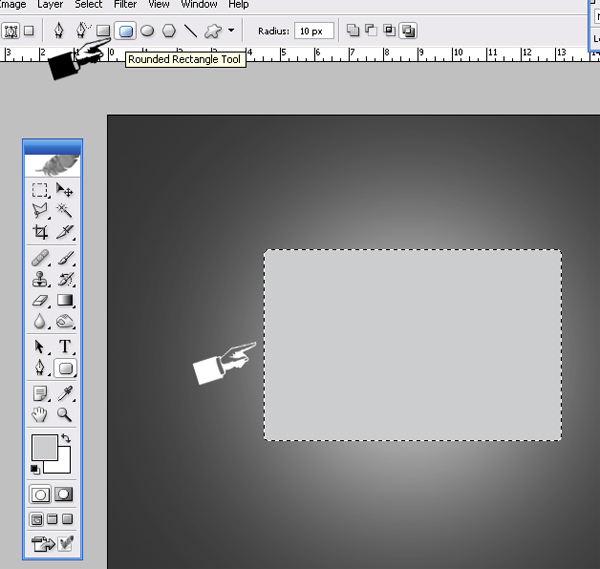
4. Open layer style and select Gradient Overlay and set the Gradient Overlay like as below

5. Now make a shape and apply feather on it (Ctrl+Alt+D) like as below

6. Now select the Rectangular Marquee tool (M) and make shape
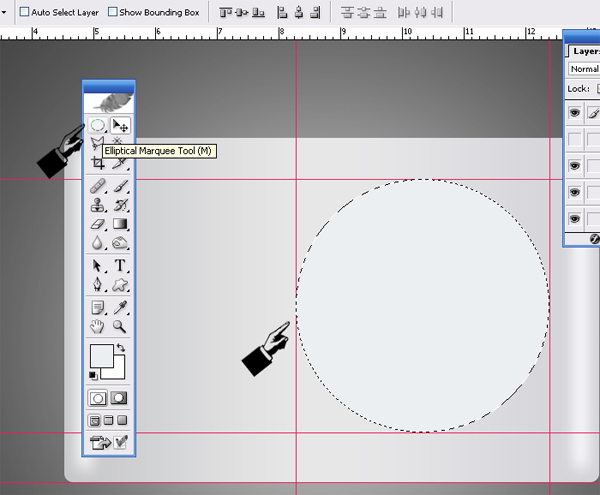
7. Open layer style and select Inner shadow and set the shadow like as below

8. Now select the Rectangular Marquee tool (M) and make shape
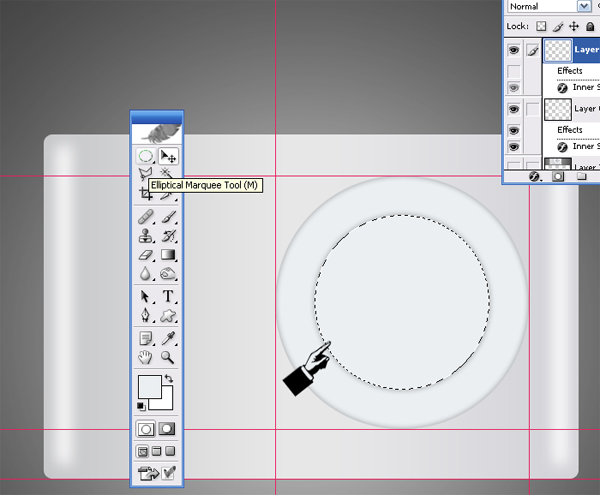
9. Open layer style and select Inner shadow and set the shadow like as below

10. Now Select the Rounded Rectangle Tool (U) and make shape

11. Now Select the Rounded Rectangle Tool (U) and Draw shapes like as below
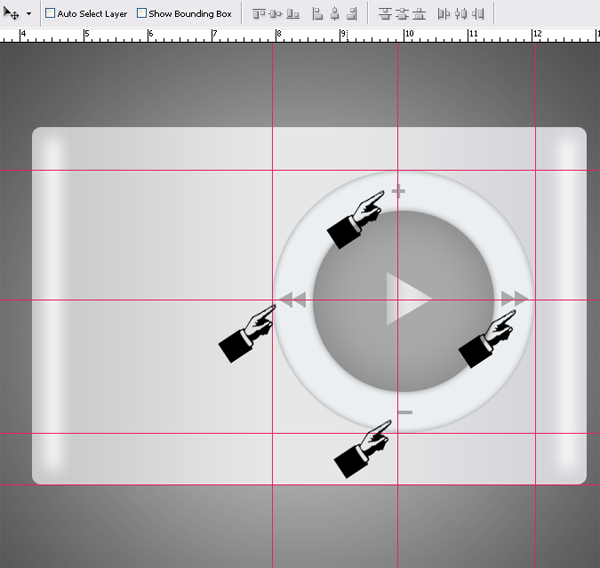
I hope you've enjoyed this tutorial and I hope these techniques have inspired some new thoughts and ideas for your next design.
About the author
Copyright © . All Rights Reserved
