How to Make a Photorealistic Drop Shadow
This drop shadow is inspired by the gorgeous, more than real artwork of the Photorealist movement. See some examples of Glennray Tutor's work at http://www.glennraytutor.com
In this tutorial we'll create a dramatic drop shadow that appears realistic, but has more drama and color than a real shadow would. A realistic drop shadow is a great technique to master as it can be used in text styles, photo creations and graphic productions. It may be just the shadow, but it is a detail that can really make for a great image.
Here is the finished product of this tutorial.
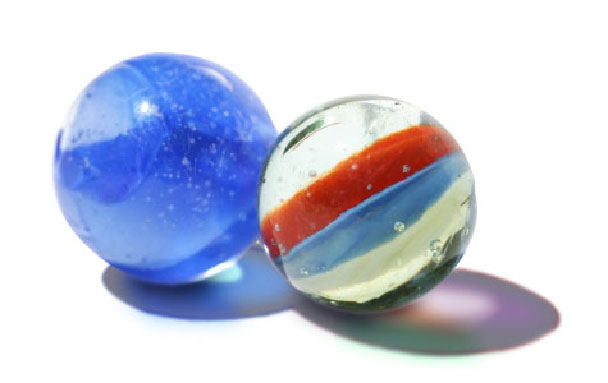
Let's get started.
Open a Photoshop file, or create a new one. For the purpose of this tutorial I'll be using a image of a couple of marbles.
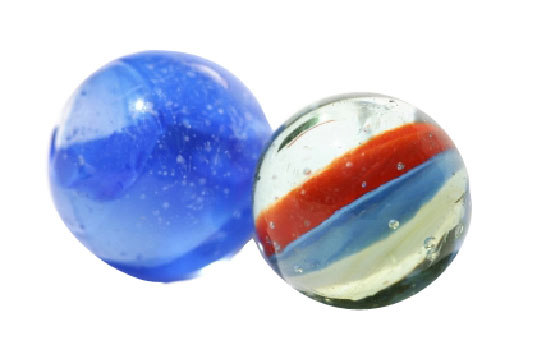
Here is the starting image with a real shadow.

First we'll need to separate the marbles from the shadow. Copy the background layer then fill it with white. Select the layer with the marbles and name it Marbles.
Tip: As a working practice, never erase parts of an image. It's a destructive method, that will usually make you want to kick yourself later. Instead use a mask.
To create a mask for this image you can use the magic wand to select the white background, then select the inverse by going to Select then Inverse or Shift + Ctrl + I (for PCs) and then click the mask icon at the bottom of the layers palette.

Now you should have a solid colored background layer and a marbles layer with a masked background.
Now we'll create the shadow. Duplicate the marbles layer by selecting it and dragging it down to the new layer icon.

Name this new layer Shadow.
Notice that the layer has an icon for the marbles and one for the mask. Hold down the Ctrl key while clicking on the mask icon to select just the marble shape. Now click back onto the marble icon in the shadow layer to view the image.
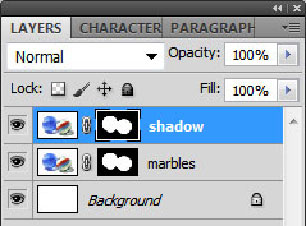
Then go under Edit, Fill and select color to fill the marble shape with a dark color. I used #010018 for the color.
Now we can have a little fun distorting the shadow image. Go under Edit, Transform then Distort. By grabbing the little boxes, you can move the handles around to get a flattened shadow shape.
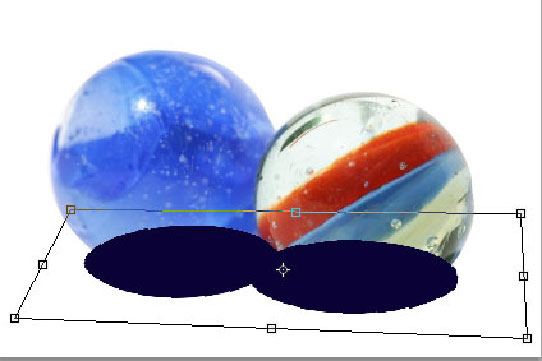
Distorting gets the shape most of the way there, but this shadow requires more exaggeration for a dramatic effect. To achieve this we'll use the Puppet Warp Tool. Introduced in CS5, this is one of my favorite tools as it is so powerful and easy to use.
With the shadow layer selected, Go under Edit then Puppet warp. Clicking it will add a mesh onto the shadow.
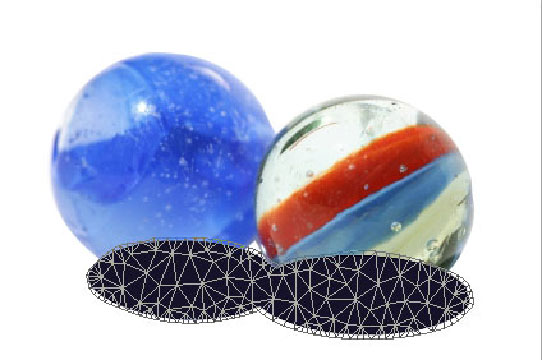
Clicking on the mesh will give you a pin. If it is the active pin it will have a dark circle in the center, and will behave like a handle that you can use to pull and distort the shape. Once you click on another point the previous pin will behave like an anchor that holds that portion of the shape in place. Re-clicking on a pin will activate it again. You can also right click (PC) on a pin to bring up a menu with a delete pin option. In this way you can set pins and stretch away!
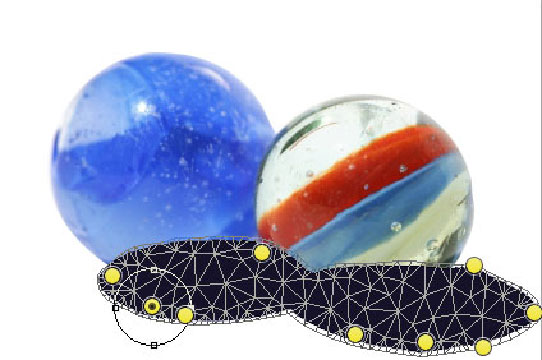
Click Enter once you have a shape you are happy with.
Next, change the layer blending mode to multiply and the opacity to around 55%.
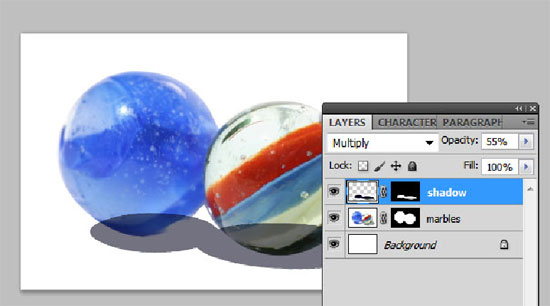
It is starting to look good, but it needs a soft edge to make it feel more like a shadow. To do this go under Filter, Blur then Gaussian Blur. We want to keep the shadow defined with just a soft edge so just use around a 1px blur.
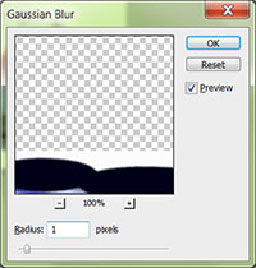
Now bring the shadow layer under the marble layer.
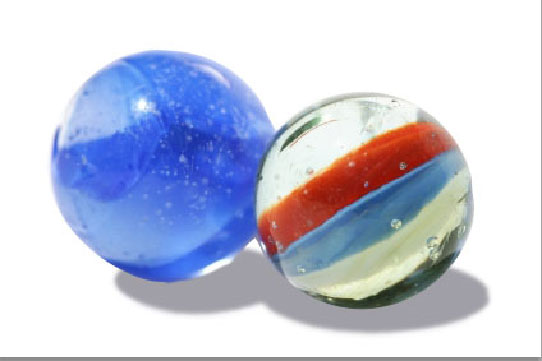
The marbles now have a nice shadow, but we're going to keep going in order to get a Photorealist shadow!
Next, let's bring some light into the center of the shadow. To do this we'll manipulate the mask.
To view the mask hold down the Alt key and click on the mask icon in the shadow layer. You should now see the mask, which can be manipulated like an image. Using the Circular Marquee Tool make an oval in the second shadow. To create the effect of a bright light going to diffuse light, fill it with a gradient.
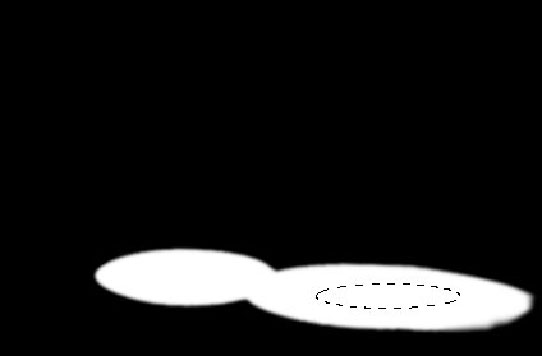
Click on the Gradient Tool and select a basic black to white gradient.
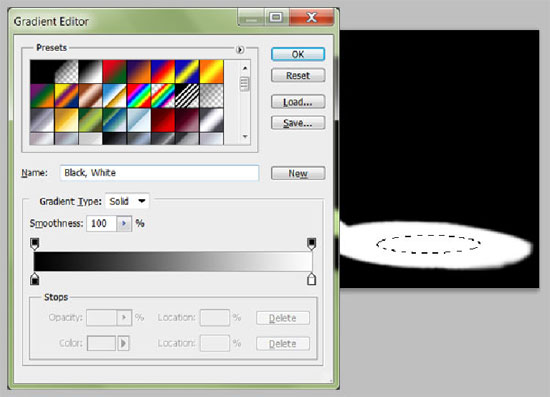
Now fill the selection with the gradient. You'll want to have about a third of it black and the rest gray. Next create a black oval in the first circle. Then using the eraser, or the paint brush with white paint flatten out the leading side of the first oval so that you end up with a mask like the following image.
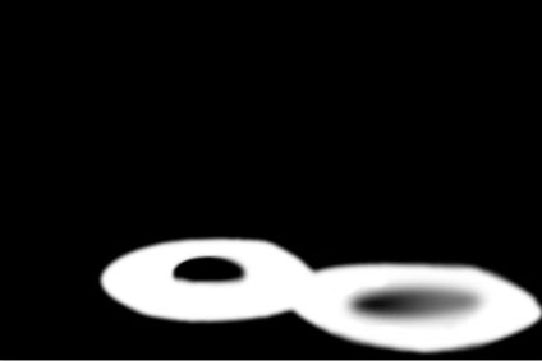
Click on the picture icon in the shadow layer to get back to the image view. You should now have something like this.
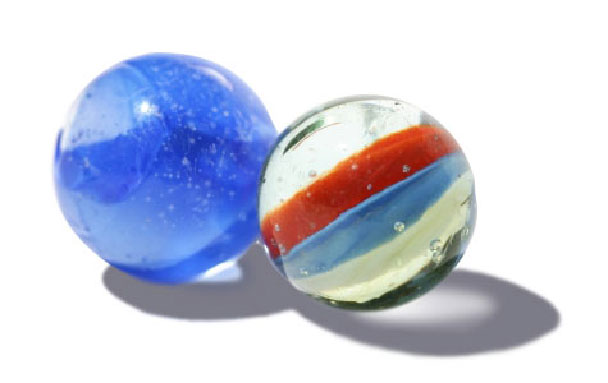
Now lets add the colors!
Add a layer above the shadow layer and call it Blue Color. Using the Lasso draw a free-form ellipse shape overlapping the bottom of the blue marble, going to the front edge of the first shadow. Then fill the selection with #385ecd. Give it a Gaussian Blur of 4.7 and then change the layer blend mode to hard light with an opacity of 75%.
It will look like this.
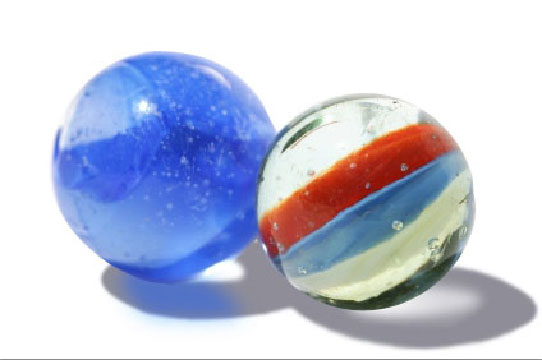
Now add another layer called Light Blue and create a new ellipse in the center of the first shadow and fill it with a brighter blue. Blur this shape as well. Now set the blend mode to vivid light with an opacity of 70%.
Moving to the shadow under the second marble create two new layers named, Green Color and Orange Color. Following the same process create an ellipse at the front of the shadow and fill with #077937. Blur and set the blend mode to hard light with 36% opacity. Then on the orange layer create an ellipse behind the green shape and fill with an orange color like #d04f2f. Keep the blend mode at normal and adjust the opacity until it looks good.
For the last color splash lets add a light purple to the second shadow. Following the same process create a layer named Light Purple, then an ellipse, this time to the back third of the shadow and fill with #b468d3. Change the blend mode to vivid light and set the opacity to 25%.
With all the color layers it should look like this.

To give the shadow a halo effect, lets add a stoke.
Add a layer on top of the shadow layer and call it Blue Stroke. Using the Circular Marquee Tool select the shadow on the blue marble as best you can. You can hold down the space bar to move the marquee around as needed. Then add a blue stroke by going to Edit and Stroke. Set it to 2px with the color of #2b48c0.
Add another layer and call it Orange Stroke. You'll do the same thing for the shadow under the second marble. This time set the stroke to 2px with the color of #bc280d.
Using the Eraser remove any distracting bits of the strokes, including the parts where the lines cross each other in the center.
It should look something like this.
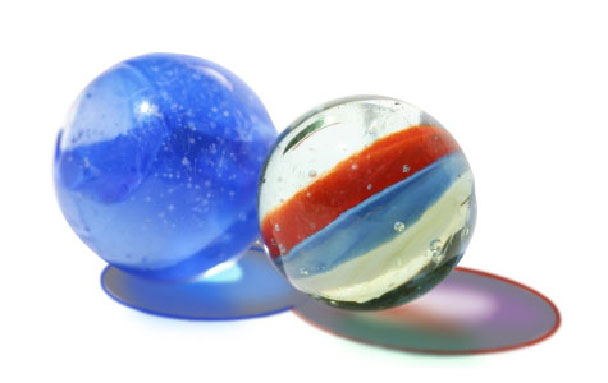
Now change the blending mode on both layers to soft light - much better.

Almost there, but the marbles still look like they're floating. To fix this we need to do two things, lightly blur the bottom edge of the marble and create a small second shadow directly under them.
To blur the bottom edge, select the Blur Tool and size it to 20px with a soft edge and set the strength to 85%. Go over the bottom edge of both marbles once or twice only, then click on the mask icon in the layer panel so that you can blur the bottom edge of the mask as well. Again this should be very subtle so only go over the edge once or twice.
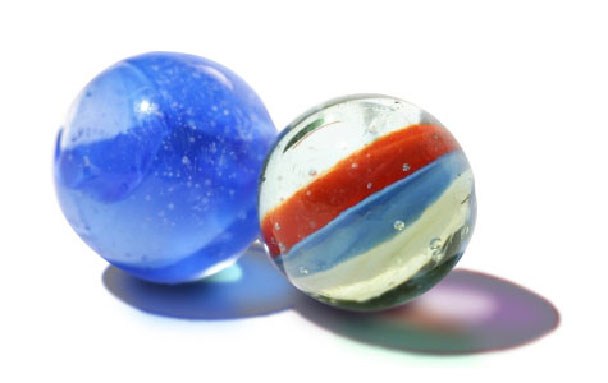
Now lets add the second shadow. Create a new layer below the marbles and call it Second Shadow. Select the paintbrush and set the foreground color to a fairly dark color like #0b0a1c. With the brush size at 16px with a soft edge, brush in a small shadow shape under each marble. You're going to blur this so it doesn't need to be perfect. It should look like this.

Now give the shadows a Gaussian Blur of 8.5 to 9px and change the blend mode to darken at 100%. There is your dramatic Photorealist shadow!
About the author
Copyright © . All Rights Reserved
