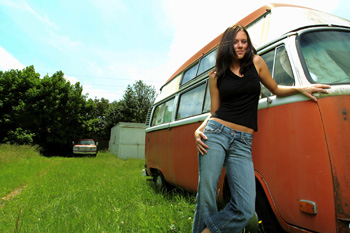
Fix overexposed photos and restore hidden details without underexposing already dark areas.
Open a photo you would like to edit. Or, you may use the photo used in this tutorial (from iStockPhoto).
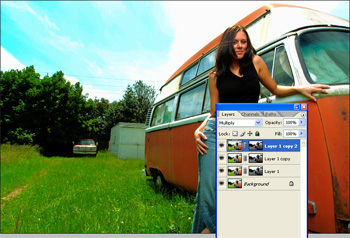
To darken the image, simply duplicate the layer (Layer> Duplicate Layer or Ctrl+J) and change the blending mode of the new layer to Multiply. You may notice that the image got darker and some areas may be overly dark. We'll show you how to fix this problem in the next page.
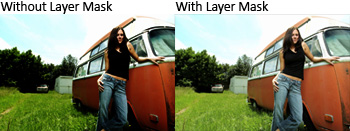
Here's the secret to this technique. The image is copied to the layer mask so that the layer is only visible on light areas. To do this, click on the thumbnail of the layer mask to select and use the Apply Image tool (Image> Apply Image) with the default settings:
Layer: Merged
Channel: RGB
Invert: Unchecked
Blending: Multiply
Opacity: 100%
Notice the difference with the layer mask.
Duplicate the layer until the desired darkness has been achieved. If you duplicate the layer too much, it may cause a posterized effect.
If your image starts to appear posterized, you may selectively remove those areas from the effect. To do this, simply click to select the layer mask of the top layer and use the Eraser tool (E) to erase the areas with the posterized effect. If it is still visible, repeat this step for the other layer masks.
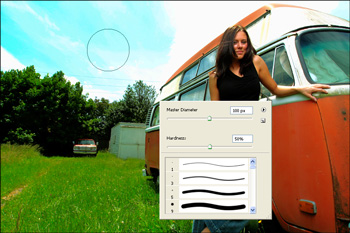
Use a soft and large eraser to prevent noticable editing artifacts.
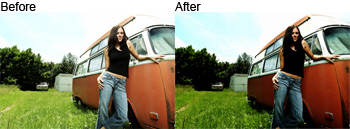
Final Result