
This is a tutorial on blending images into your signatures. For this tutorial, you need to have a background for your signature and a render, which you want to blend. My graphics are shown below.
 Background |
 Render |
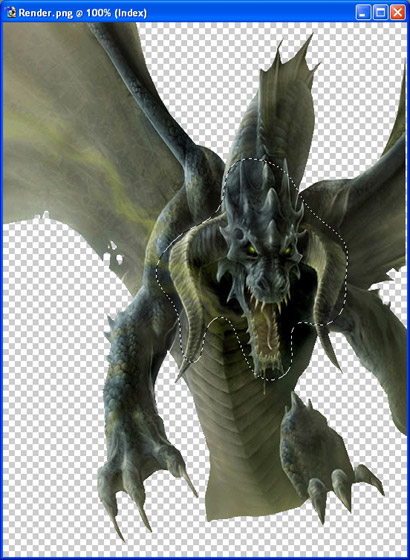
Let's begin. Navigate to your render image and select the Lasso Tool (L key). Now set the Feather on the Lasso Tool to around 15. Draw a rough outline around the part of the render you want in your signature. Should look something like this:
Then copy the image using Ctrl+C. Now open your background file and press Ctrl+V to paste the render into your signature. Now, resize and position your render as you see fit. This is what mine is looking like at the moment.

You may find it necessary to brush lightly around the edges of the render in alternating Black & White layers using a Grunge brush with the opacity set at around 40%.
Now it's time to add some colour to the image. To do this I am going to use a Hue/Saturation layer. My settings are as follows.
Hue: 0
Saturation: 60
Lightness: -25
Ensure Colorize is checked.
My final result looks like this:

Just play around with the feathering and brushing and see what effects you get. Hope you found this useful. Comments welcome.