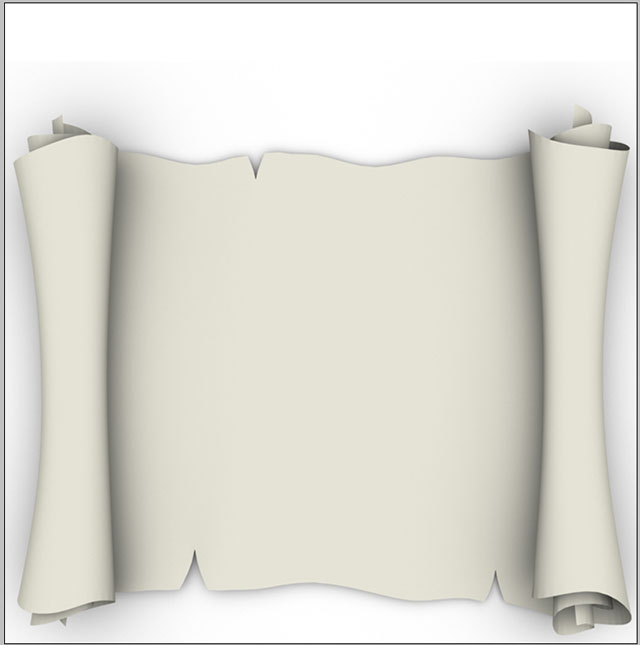
As usual we will use the same document size : 760x770 pixels. I will use a white background.
On this document I will add a image with a roll paper.
With Rounded Rectangle Tool.
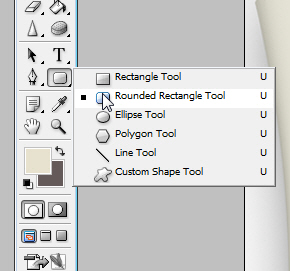
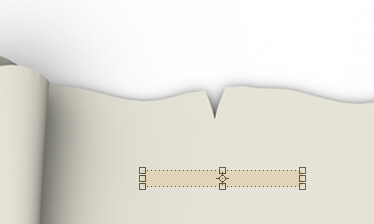
I will create a simple shape, and I will place it like in the following image.

I have changed the Opacity value = 50%.
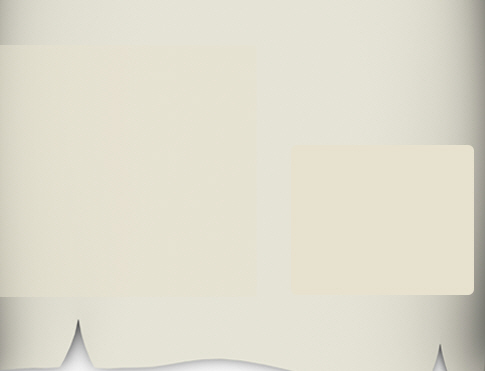
Grab Rectangle Tool.

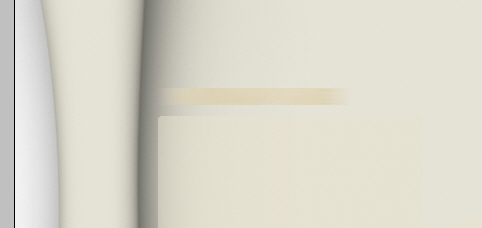
And create a shape like in the following image. I have used the following color (#e0d4b9).
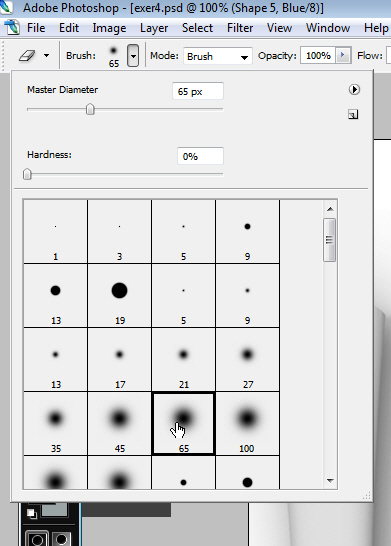
The next step is to erase the left and the right part of this shape. I will right click on the layer, then I will chose rasterize layer. then with a smooth round brush, I will delete some parts of the shape.
This is my result after I have erased the left and the right part of this shape.
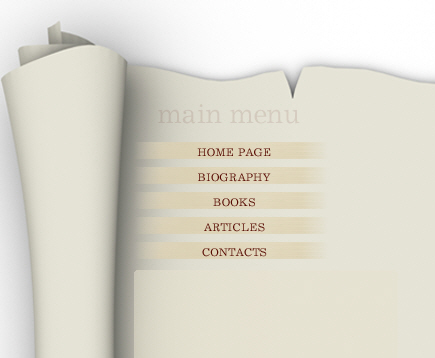
Be sure you have selected, the layer in your layer palette, then press on Ctrl+J to duplicate the shape a few times. With Move tool, you cna place the shapes one after the other, like in the following image.
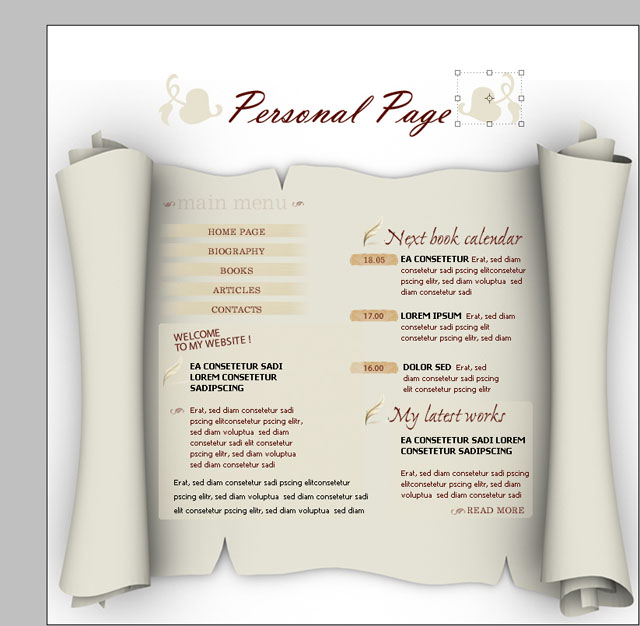
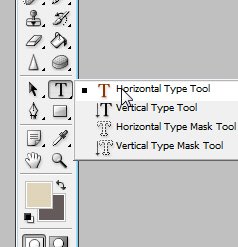
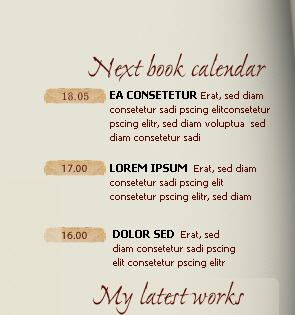
In the same time I will use Type Tool, to add some text over the shapes.
This is the text, and font size I have used. with the following color : #5a0901.

This is my result:

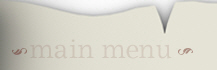
The same I will use Horizontal Type Tool to add another text.
Here is the font proprieties.

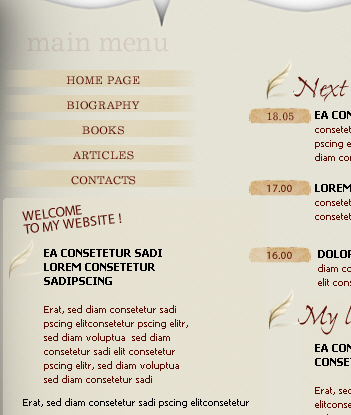
For the Main menu text I will use the following color #d7cec1 and this is my result.
I have used some custom shapes for the following leaves.
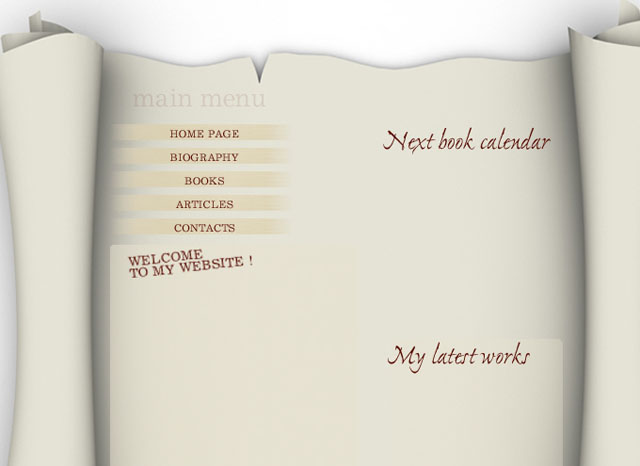
For the next text "welcome to my website" I will add more text with Horizontal Type Tool.
These are the settings:

And for this text I have used the following color #8a5348.
In the next images you can see how it looks so far.
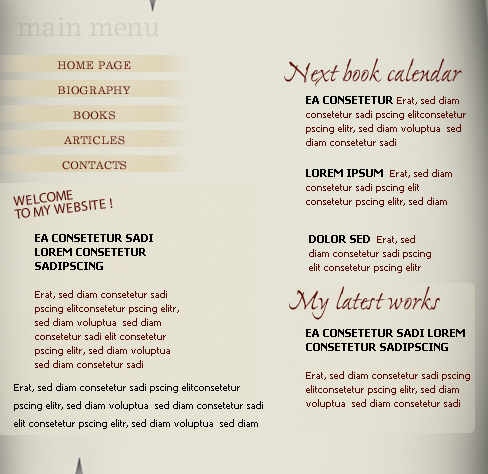
For the other text, I have used the following settings for my font.

And this is my result.
Now I will use Rounded rectangle tool, after that I will rasterize the shape ( to rasterize the shape you need to right click on the layer in your layer palette ) then with a grunge brush tool, you can add some minor details.
For the shape I have used the following color #d9b698.
With Custom Shapes tool I have placed some leaves. Or you can use some brushes from Talk-Mania Big-Pack.
I have placed a feather from my personal stock collection.
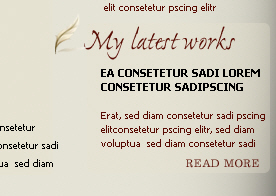
You can duplicate the feather image several times, and place it , based on your text. if you have more text on your layout, you can add more feathers.
To duplicate a layer, you need to select the layer first, then press on Ctrl+J.
I will use Custom Shape Tool.
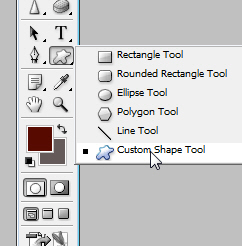
And I will chose the following custom shape tool.
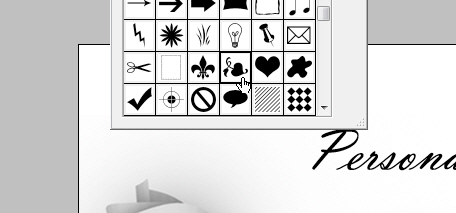
I will place this shape near the text logo.
I will duplicate the leaf, ( press Ctrl+J ), then with move tool I will place it on the other side of the text logo.
You need to flip the leaf. you can go to Edit > Transform > Flip horizontal.
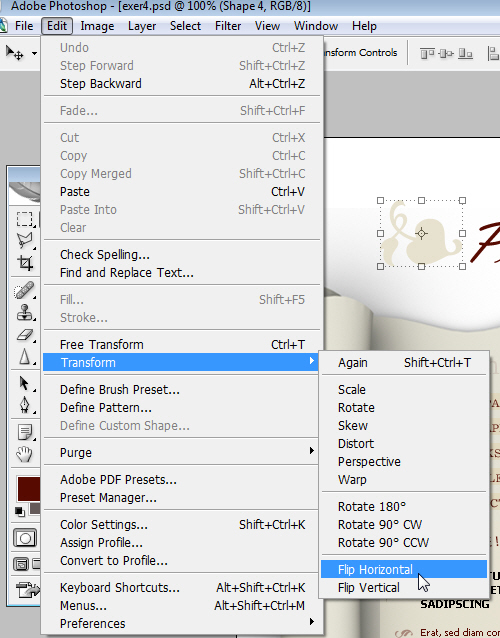
After that you will have the same result as mine.