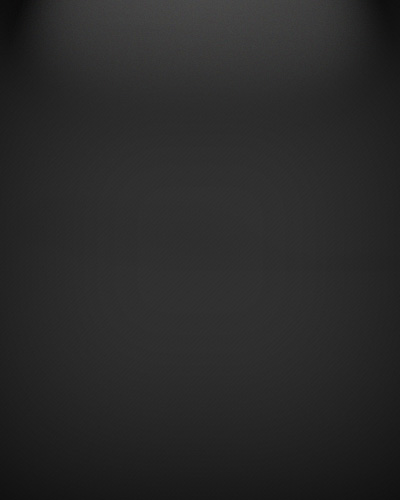
So lets start with creating our document, i have prepped a background for you guys already if you wish to use it.
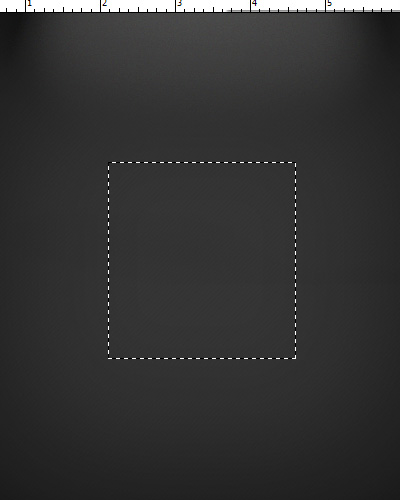
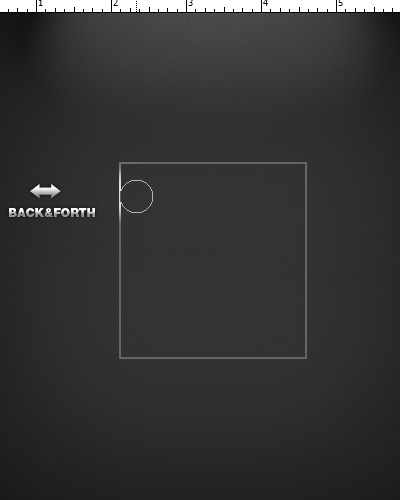
Now by grabbing your Rectangular Marquee tool, create a new layer and an outline for the frame of the interface.
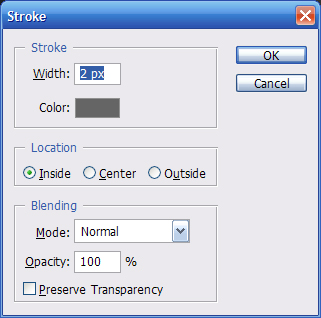
Using the preferences below apply a stroke to the outline:
Great, now we have the border for our interface. So lets start adding the detail touches so we can make it look more metal-like. Using our Dodge Tool with a diameter set to 45px, start stroking the left edge of the frame as shown below. Apply the following effect over and over with different sizes along the the other edges.
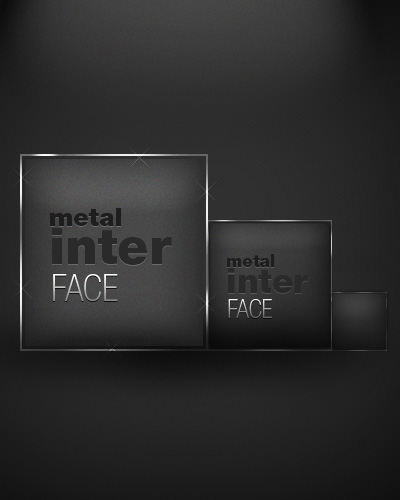
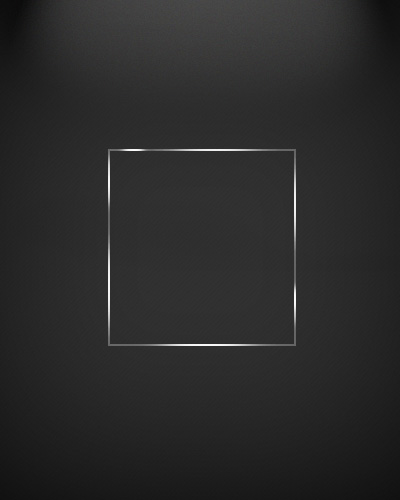
Eventually, your results should come out to be looking along the lines of this:
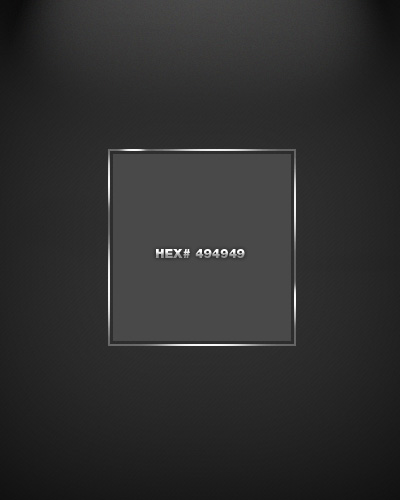
Now that we got the feel of the metallic frame lets work on our Gun Metal background. Simple begin by taking out the Rectangular Marquee tool and creating another rectangle inside the current frame, approximately 2px-3px apart.
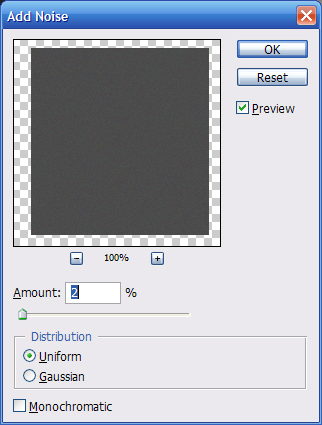
Follow that up with adding some noise:
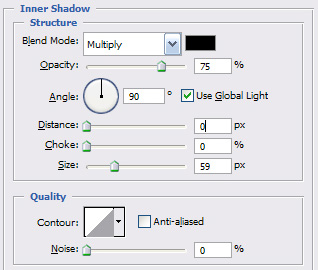
Good, lets move on to our shadows. Go to your Layer - Layer Style - Inner Shadow and apply the following preferences:
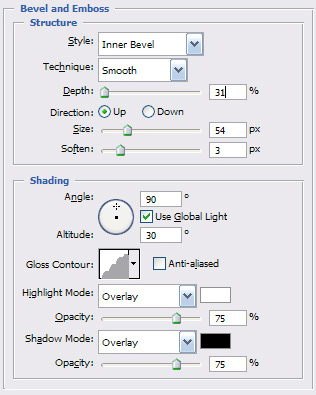
For the final touch, lets add a little bit of bevel. Look below:
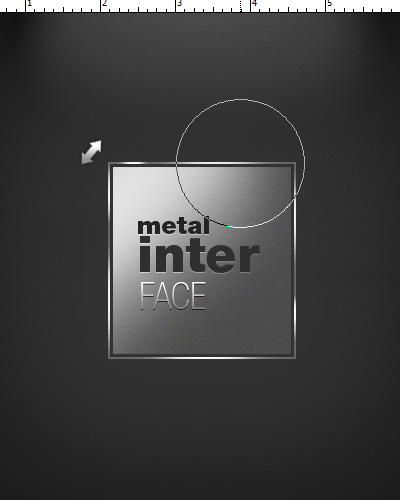
Okay now to fix a little bit of the lighting, we are going to duplicate the layer and clear it off all styles. (Clear Layer Styles). Following that, grab your Dodge Tool and set the diameter to approximately 125px and stroke in the direction shown below gradually decreasing.
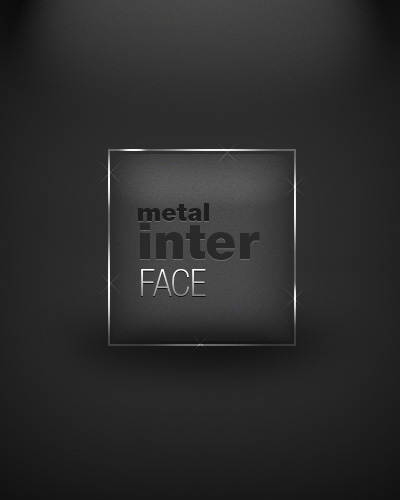
After that set the Blending options in Layer - Layer Style to Overlay and drop the opacity to 25%. You should be looking at approximately the same results on your screen:
You can really do a lot with this tutorial, using different shapes and methods. This is just the basic introduction, the same way you star to learn animation with the beginners step of adapting the color to change under a sequence of frames. I will try to make a more advanced to tutorial to this version that will give more insights and maybe even help some of you progress.